


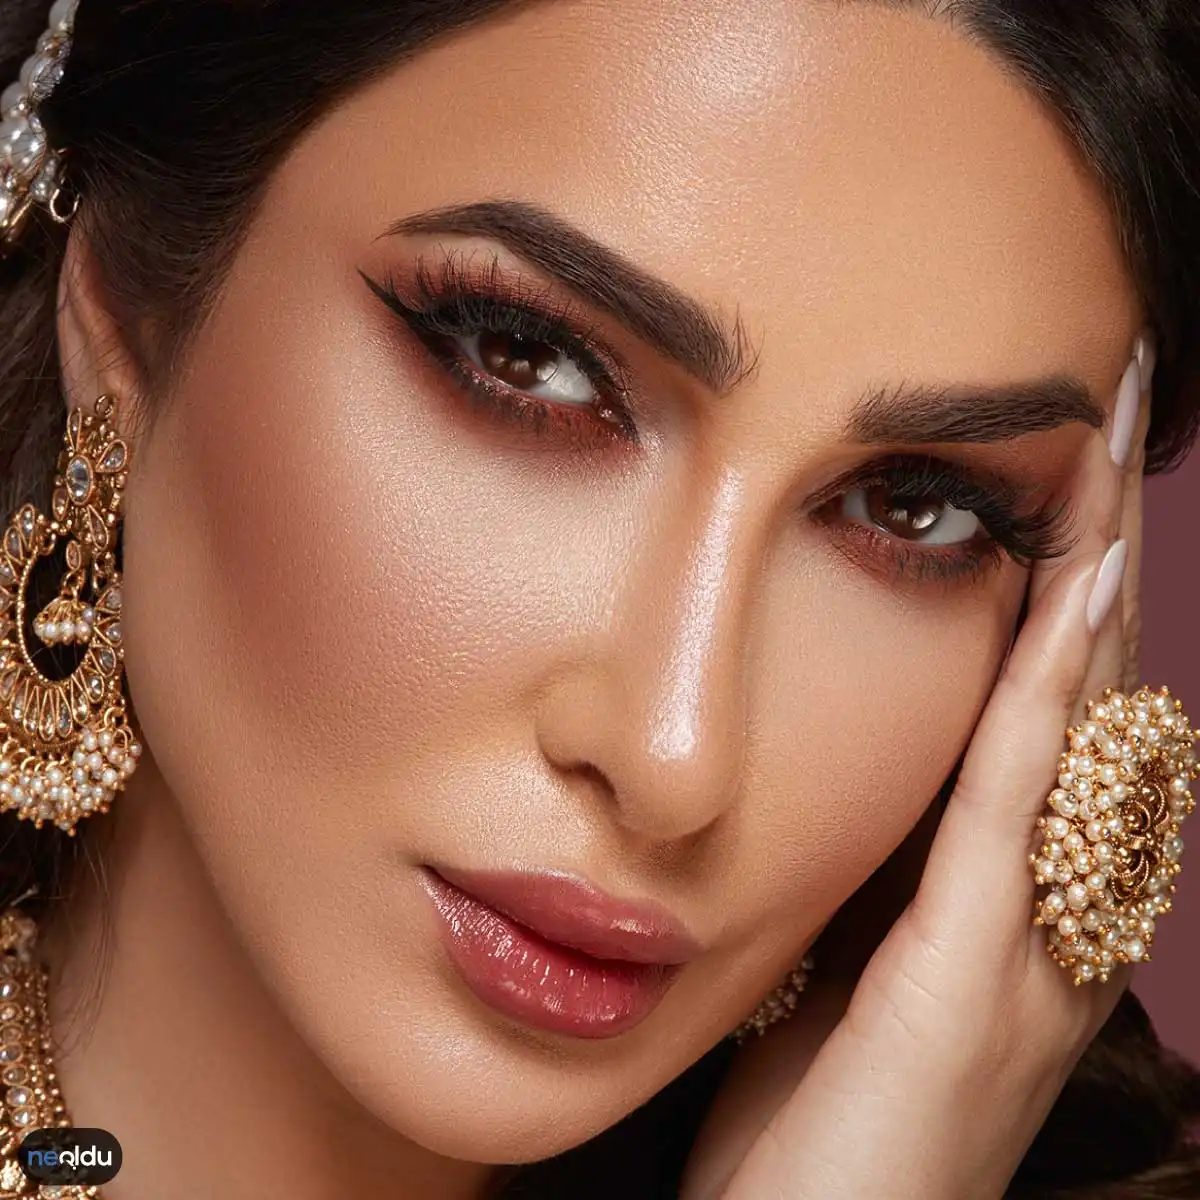
It’s not just about looking tired at 2 a.m. anymore. The smoky eye makeup technique has evolved from a 90s staple into a sophisticated tool for depth and dimension. At its core, this method relies on blending intensely pigmented eyeshadows, eyeliner, and mascara until they soften into a seamless haze. The result? Eyes that appear significantly larger and more striking. It adds an air of mystery to your look. You aren’t just wearing makeup. You’re wearing an aura.
The Mechanics of the Blur
Traditional makeup often demands crisp lines. This approach asks you to destroy them. You start with heavy application. Then comes the hard part: distribution. You must take those concentrated colors and diffuse them outward. The goal is a gradient. Darker near the lash line, lighter toward the brow bone. This gradient creates a shadow effect that makes your eyes pop without looking harsh.
Why It Works for Every Eye Shape
You might think this technique is too dramatic for everyday wear. It isn’t. When done right, it enhances your natural anatomy. The blending process draws attention to the shape of your eye rather than the product itself. It creates volume. It adds definition. And because the edges are soft, it forgives minor application errors. A sharp line can look severe. A blurred edge looks effortless.
How to Start Your Smoky Look
Start with a neutral base. This helps your eyeshadow adhere and last longer. Then, build color in layers. Don’t try to get full intensity in one swipe. It won’t blend out. Work in sections. Use a clean brush to soften the edges constantly. The transition is key. If you can see distinct lines between shades, you haven’t blended enough. Keep going.
The mystery lies in the subtlety. It’s not about how much product you use. It’s about how you hide the application. Once you master the blend, the gaze does the rest.
Creating that Smoky Illusion
Think of smoky eye makeup as the art of hiding lines with shadow. It’s not about drawing a hard border; it’s about softening the edges until the eyelid looks deeper, more mysterious. The goal is a cloudy, misty effect that makes your eyes look bigger and more intense.
Most women save this for the big nights. Special events. Parties. It’s not exactly a Tuesday morning coffee run look. But the technique itself is simple once you get the hang of blending.
Here is how you actually pull it off without looking like a raccoon.
Start with a Clean Slate
You need a base. Not just primer, but a neutral eye shadow that matches your skin tone or is just slightly darker. This acts as a canvas.
- Apply a thin layer across the entire lid.
- Blend it out to the brow bone.
- This step ensures your colors pop and don’t get muddy later.
Build the Depth
Now, grab your darkest shade. Charcoal. Deep brown. Black, if you’re feeling bold.
Apply this to the outer corner of your eye. Focus on the V-shape. Don’t drag it across the whole lid yet. Keep it concentrated where the shadows naturally fall.
“The key is layering, not pressing.”
Use a fluffy brush. Light, circular motions. Blend upward. You want the dark color to fade into the middle of the lid, not stop abruptly.
Soften the Transition
Take a medium tone. Maybe a warm bronze or a deep plum.
Apply this to the crease. Blend it into the dark outer corner you just created. This step erases the harsh line between the light base and the dark shadow.
If you see a hard edge, keep blending. It takes time. It takes patience. Most people rush this part and end up with a stripe of color instead of a gradient.
The Highlight
Light catches the brow bone. So make sure you highlight there.
Use a shimmery shade or a matte light color right under the arch of your eyebrow. This lifts the eye. It opens up the face. Without it, the smoky look can drag your features down.
Liner and Lashes
Skip the heavy pencil liner. It fights against the softness of the shadows.
Instead, tightline your upper lash line. Just the waterline. It makes the lashes look thicker without adding a hard line.
For lashes, go for volume. Curl them first. Then apply two coats of mascara. If you can handle the drama, add false lashes. They help frame the smoky effect and draw attention to the eyes.
Final Touches
Check for fallout. Eyeshadow dust often lands under the eyes. Clean it up with a bit of concealer or a makeup wipe.
And remember. This look is about balance. If your eyes are heavy, keep the rest of your face minimal. A nude lip. Fresh skin. Let the eyes do the talking.
It’s not for every day. But when the occasion calls for it, there’s nothing quite like that hazy, intense gaze.


Siyah göz kalemi ve siyah rimel. İhtiyacın olan iki temel unsurla başlıyoruz. Kalemi gözünün çerçevesine sürüyorsun. Dağıtmaya başlıyorsun. Far fırçalarıyla bu işlemi hallediyoruz. Koyuluk açıklığa geçiş yapıyoruz. Siyah kalemi iç köşeye de çekerek bitiriyorsun. Kirpiklerine kıvırdıktan sonra rimel sürüyorsun. Hepsi bu kadar basit. Ama daha derin, daha ayrıntılı bir buğulu göz makyajı yapmak istersen dur.
Primer Uygulayın
Buğulu göz makyajının gün boyu büyüleyici görünmesi için göz kapaklarınıza primer sürmeyi atlayamazsınız. Primer olmadan farınız erken saatlerde dökülür veya göz kapağınızda toplanır. Primerin sayesinde far gün boyu kalıcı ve ilk anki gibi taze kalır. Bu küçük adım, makyajınızın saatlerce bozulmadan durmasını sağlar.
Göz Kapağına Nötr Bir Renk Kullanın
Koyu göz makyajına başlarken ilk hamle göz kapağının tamamına nötr bir renk sürmektir. Nötr renk, alt katman oluşturur. Sonraki adımda uygulayacağınız koyu renkleri bu nötr zemin üzerinde çok daha kolay karıştırabilirsiniz. Doğru bilinenin aksine, gözünüze doğrudan koyu bir renk sürerseniz sonuç acemice durur. Nötr ton, koyulukların doğal bir şekilde yayılmasını sağlar.
Göz Kapağını Gölgelendirin
Buğulu göz makyajının gözlerinize derinlik katmasını istiyorsanız, en koyu renginizi seçin. Göz kapağındaki katlanma çizgisine uygulayın. Burada iyice dağıtın. Bu teknik, göz kapağı katlanma çizginizi belirginleştirir. Daha iyi, daha tanımlı bir görünüm elde edersiniz. Sınır çizgisini yumuşatmak, makyajın yapay durmasını engeller.
Gözlerini Ortaya Çıkartın
Katlanma çizginizi ortaya çıkardıktan sonra sıra geldi sinsi bir hile yapmaya. Göz kapağının tam ortasına, göz bebeğinizin hizasına far paletinizdeki metalik tonu sürün. İyice dağıtın. Buğulu göz makyajında dağıtma işlemi kritik. Doğal bir buğulu görünüm elde etmek için bu adımı mutlaka uygulayın. Metalik yansımalar, gözlerinize derinlik ve parlaklık katar.
Kirpik Diplerini Belirginleştirin
En önemli adımlardan biridir. Hacimli kirpikler, göz makyajının en çok dikkat edilmesi gereken kısımlarındandır. Kirpiklerinizi ön plana çıkarmak için alt ve üst kirpik
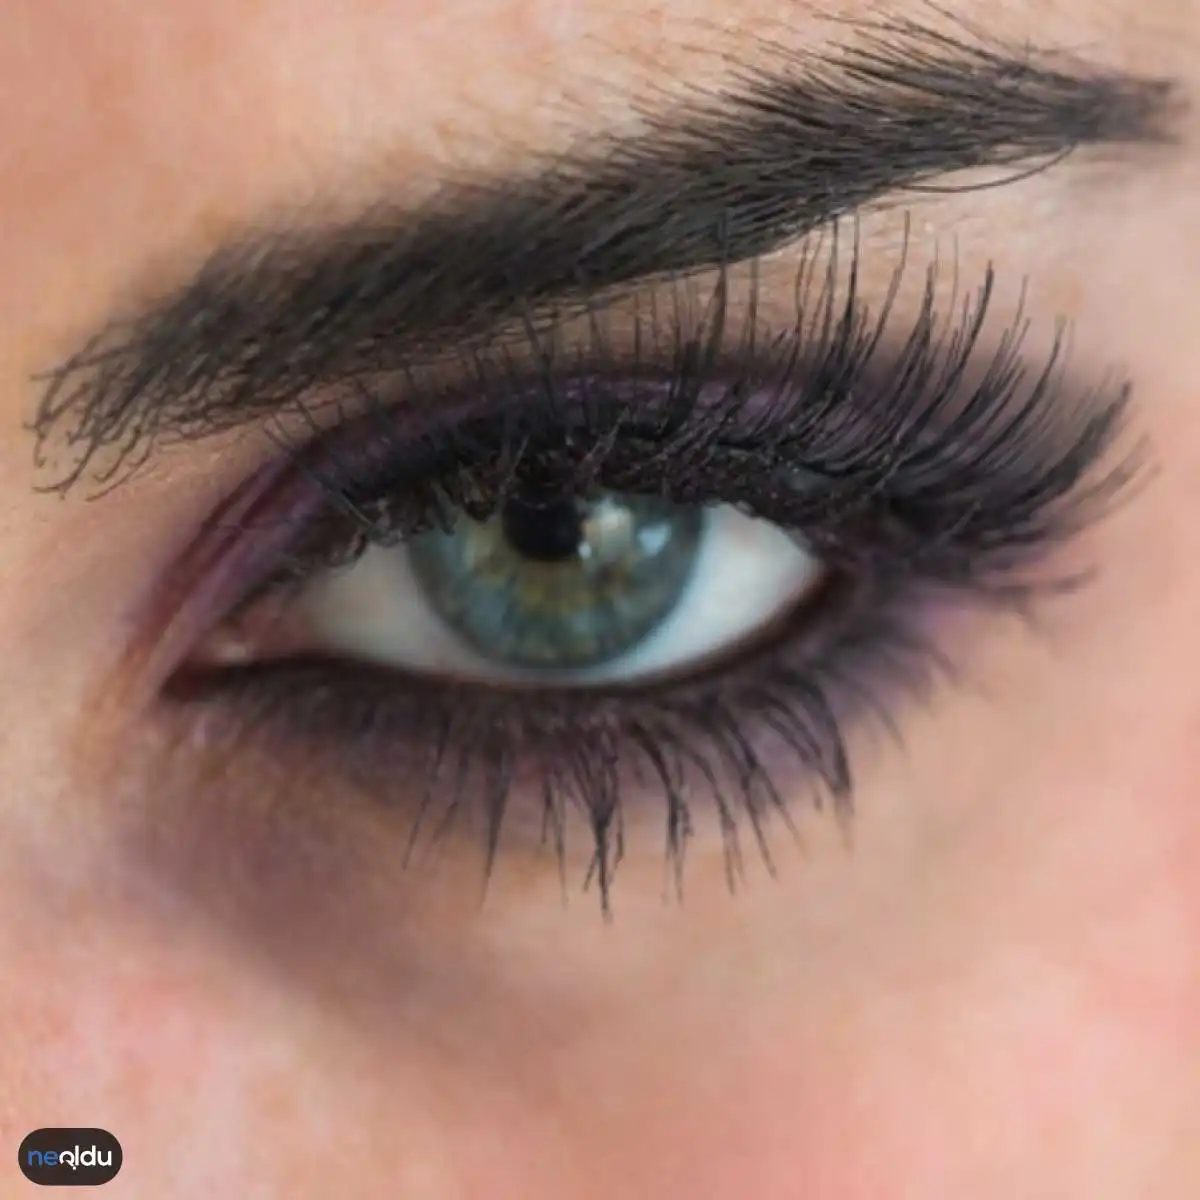
Doğal bir dumanlı göz makyajı istiyorsan işe krem farla başlamak en mantıklı adımda. Tüm göz kapağına bu krem formülü sür. Sonra kahve veya kızıl tonlarındaki toz farını gözlerinin dış köşesine uygula. İyice dağıt. Bu basit hareketle gözlerin daha belirgin hale gelecek.
Gözlerin küçükse ve bundan şikayetçiyse renk seçimi işin aslı. Koyu renkler yerine açık renkleri kullanmalısın. Göz makyajının dış köşelerine yoğunluk vermeyi unutma. Metalik tonlar da gözlerinizin daha iri gözükmesine yardımcı olacaktır.
Siyah Dumanlı Göz Makyajı Nasıl Yapılır?
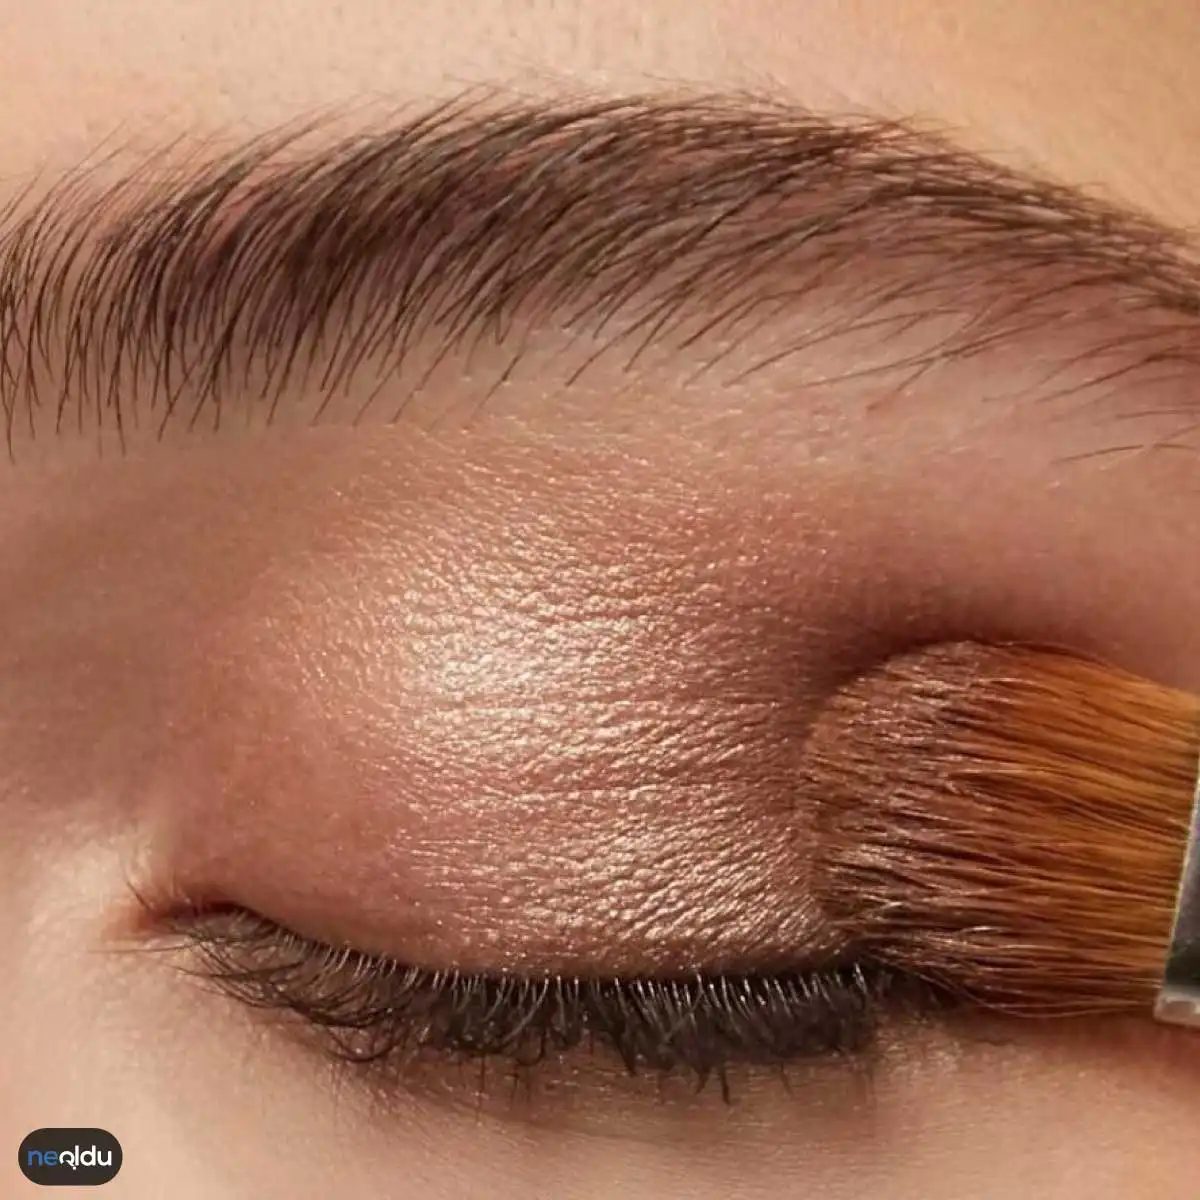
Smoky eye (dumanlı göz) makyajı, özel bir davet için ya da ilk buluşmada karşıdakini etkilemek istediğinde vazgeçilmez bir seçenek. Siyah ve gri tonlarının hakim olduğu bir far paleti kullanarak bu bakışı yakalayabilirsin. Koyu göz makyajı teknikleri zamanla değişse de, bu klasik görünüm hâlâ en popüler olanlar arasında yer alıyor.
Doğru Ürün Seçimi ve Hazırlık
Başlamadan önce, siyah ve grilerin olduğu bir far paletine ihtiyacın var. Tamamen siyah kullanmak yerine, tonların arasında geçiş yaparak daha doğal ve derinlikli bir görünüm elde edebilirsin. Göz kapaklarını hazırlamak için hafif bir baz uygulayarak farın daha uzun süre kalmasını sağlayabilirsin.
Uygulama Adımları
- Alt Kirpikler: İlk olarak alt kirpiklerini siyah veya koyu gri farla belirginleştir. Bu, dumanlı etkiyi başlatan adım.
- Çiftler Arası Geçiş: Üst kirpiklere ve çiftler arasına daha açık bir gri tonu sürerek siyah ile göz rengin arasında bir geçiş yarat.
- Köşeler ve Kirpikler: Siyah farı gözün dış köşelerine ve üst kirpiklere uygulayarak yoğunluğu artır. Kirpiklerini de siyah maskara ile koyu hale getir.
“Siyah buğulu bakışlar, karşındakini kolaylıkla etkilemeni sağlar. Ancak bu görünümün kalitesi, farın dağıtımına bağlıdır.”
İpuçları ve Püf Noktaları
- Karıştırma: Farları birbirine karıştırırken yuvarlak hareketler yap, bu da daha yumuşak bir geçiş sağlar.
- Denge: Eğer göz makyajını koyu tutarsan, dudaklar için daha doğal veya nude bir renk seçmek dengeyi korur.
- Kalıcılık: Göz makyajı yaparken temiz bir fırça kullanarak farı nazikçe dağıt, bu da daha profesyonel bir sonuç verir.
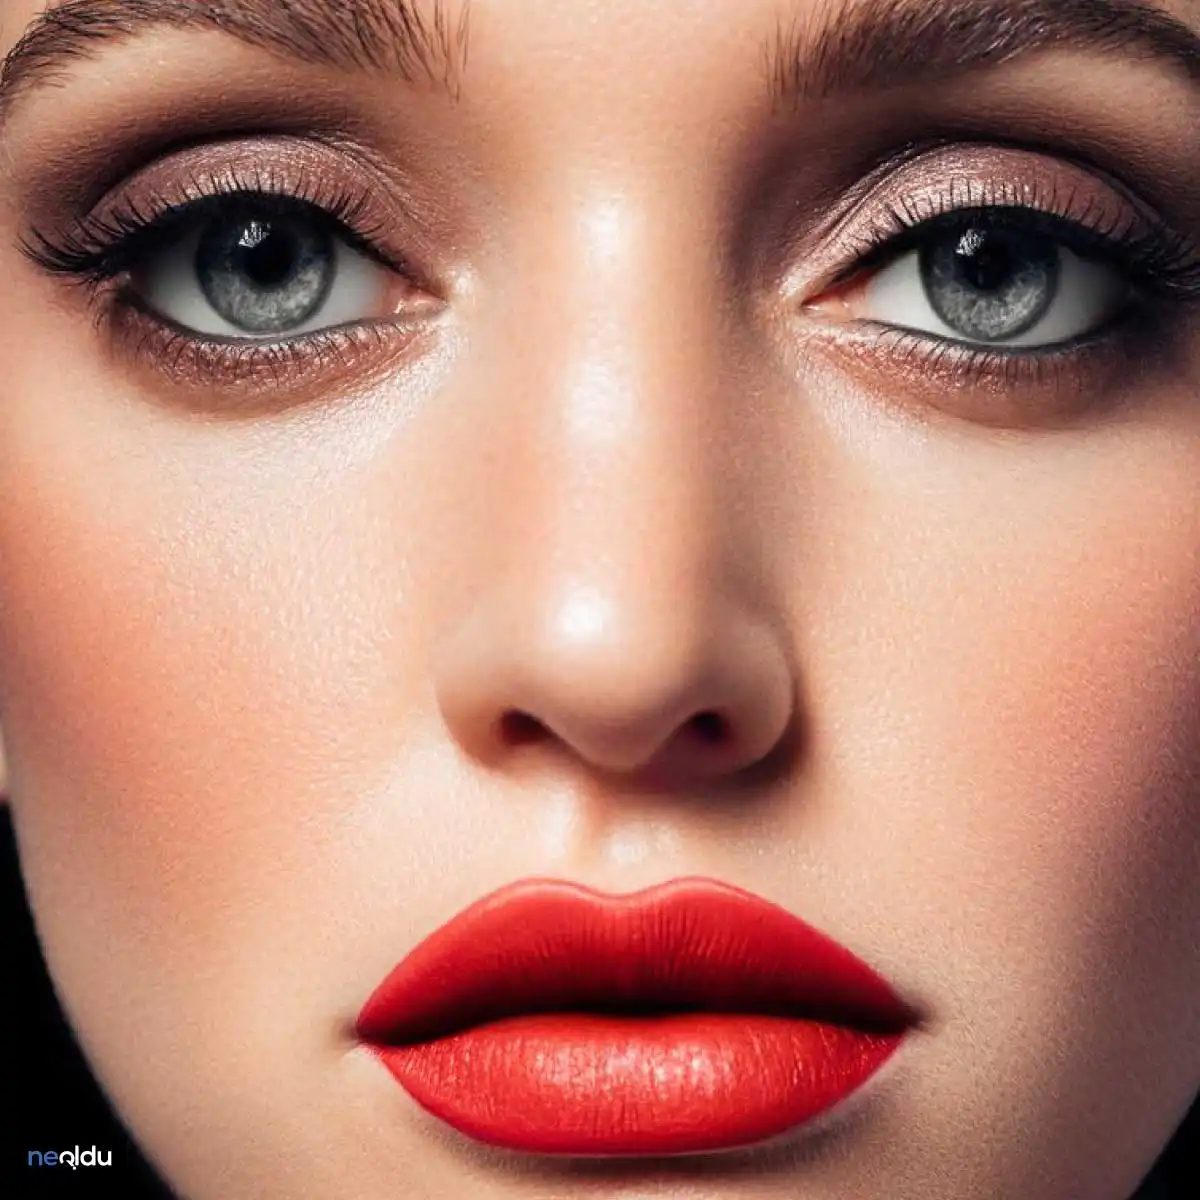
Aceleniz mi var? Aslında makyaj yapmak için saatlerce vakit harcamanıza gerek yok. 5 dakika içinde gözlerinize buğulu göz makyajı uygulayarak, yorgunluğu maskelleyen ve bakışlarınıza derinlik katan o hafif, mistik görünümü elde edebilirsiniz. Bu, özellikle sabah rush hour’ında veya acele bir randevu öncesi için kurtarıcı bir yöntemdir.
Sırada duran basit adımları takip ederek, karmaşık tekniklere gerek kalmadan profesyonel bir etki yaratabilirsiniz. İşte tek bir göz kalemi ile bu buğulu look’u nasıl yakalayacağınıza dair net rehber.
Adım Adım Pratik Uygulama
Öncelikle göz kalemi işareti başlıyor. Kirpik diplerinize, yani göz kapağının alt kenarına ince bir çizgi çekin. Bu adım, gözlerinize anında boyut ve tanımlanmışlık katar. Çizgiyi düz tutmaya çalışmayın. Parmağınızın ucuyla bu siyah veya kahverengi çizgiyi nazikçe dışa doğru yayın. Bu hareket, sert çizgiyi yumuşatır ve o istediğimiz “dumanlı” veya “buğulu” havayı yaratır.
Sonra renk devreye giriyor. Göz kapaklarınızın dış köşelerine ve kaş kemiğinizin hemen altına koyu tonlarda bir far uygulayın. Burası, yüzünüze derinlik katan gölgeleme alanınızdır.
“Daha fazla ürün kullanmak yerine, az miktarda koyu rengi doğru yerlere sürüp iyi dağıtmak, daha doğal bir sonuç verir.”
Bu işlem için düz veya orta boy bir far fırçasından faydalanmak işinizi kolaylaştırır. Fırçanızı dairesel hareketlerle kullanarak renkleri birbirine geçirin. Sınırlar ne kadar belirgin değilse, o kadar doğal ve şık duracaktır. Evet, sadece birkaç dakikanızı ayırarak bu etkiyi yaratabilirsiniz.
Neden Bu Yöntem Tercih Edilmeli?
Birçok kadın, makyajın karmaşık olduğunu düşünür. Oysa tek bir göz kalemi ile buğulu göz makyajı yapmak, aslında en minimal ve etkili yollardan biridir. Hem zaman kazandırır hem de malzeme maliyetini düşürür.
Bu teknik, özellikle şu durumlarda idealdir:
* Sabahları aceleliğiniz olduğunda.
* Göz makyajında uzman olmadığınızı düşünüyorsanız.
* Doğal ama dikkat çekici bir görünüm istiyorsanız.
Sık Karıştırılan Yanlışlar
Çoğu insan, göz kalemini çok sert bir çizgi halinde bırakır. Bu, gözlerinize yorgun veya sert bir ifade verebilir. Parmakla dağıtma adımı, bu sertliği kırar ve gözlerinize yumuşak, erişile
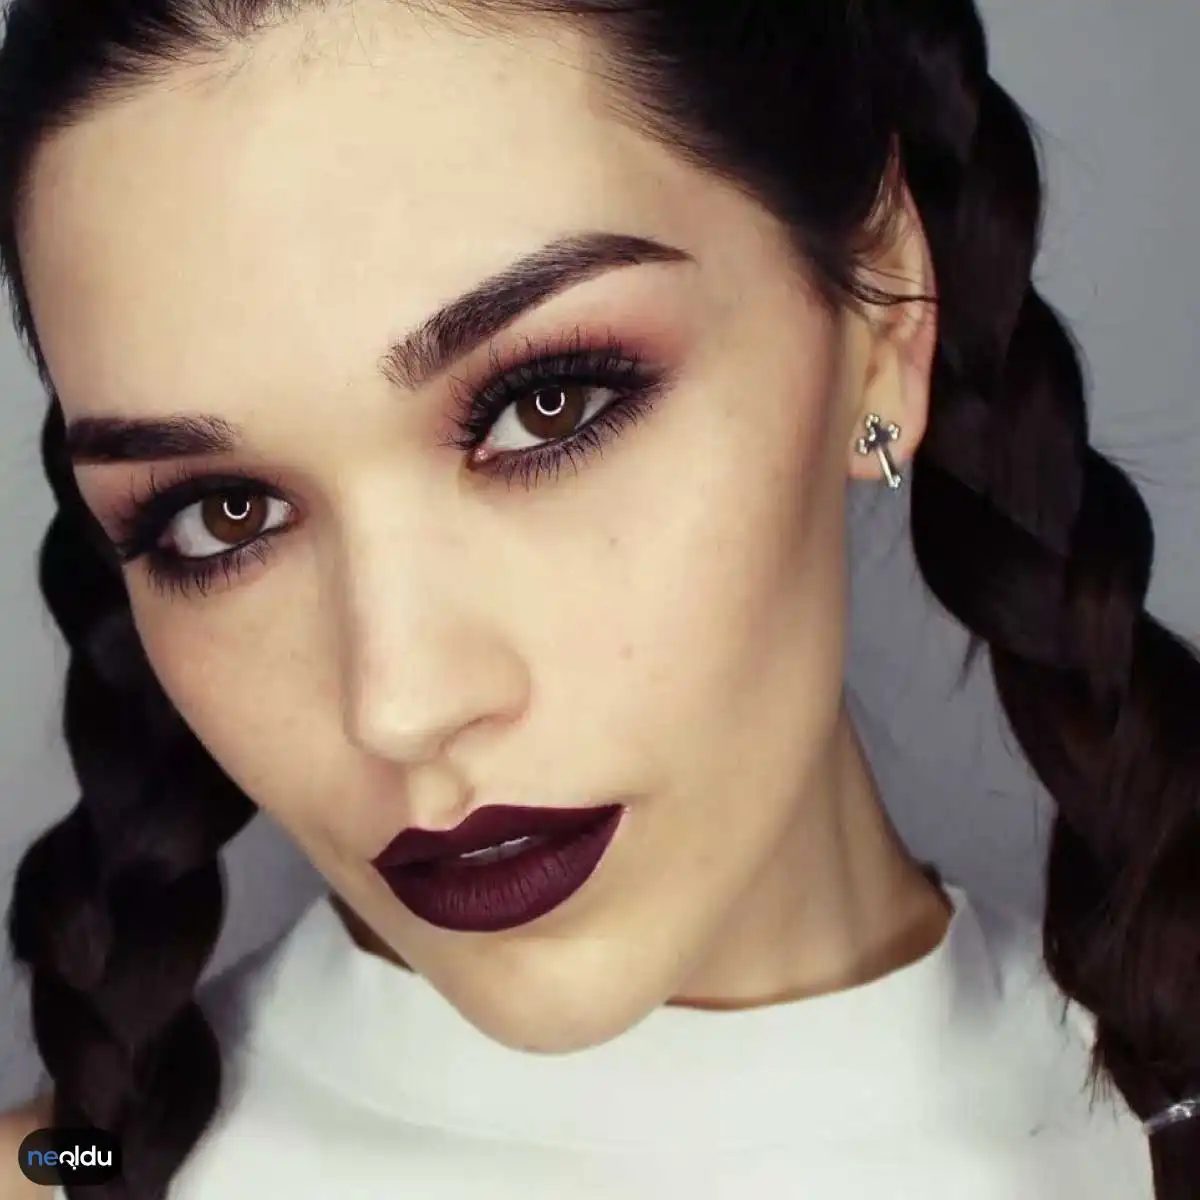
Eye Liner Hack: The Steam Method for Smudged Liner
Did you know you can achieve that smoky look using only eyeliner? It’s a trick worth knowing, especially if you want to skip the complexity of eyeshadow blends. The secret lies in heat. Before you even touch the wand to your face, dip the closed tip of your eyeliner into hot water for about twenty seconds.
Take it out. Let it cool for a moment until it reaches a workable temperature. Now, apply it messily right along the lash line. Top and bottom lids both get the treatment. If the color isn’t dark enough? Do it again. Heat. Wait. Apply. Repeat.
The Eyeshadow Base Method
But what if you want more dimension? This is where the traditional “foggy” or smoky eye technique takes over. Start with a base primer on your eyelids. It keeps everything from sliding off or creasing by lunchtime.
Next, grab a matte eyeshadow. Don’t be afraid of the dark shades. Brown, gray, and black are the usual suspects for a moody, smoky vibe. Apply the darker shade starting from the outer corner and working your way toward the inner corner.
Then, switch to a lighter shade. Place it in the center of the lid and blend it out. The goal isn’t sharp lines. It’s diffusion. You’re trying to erase boundaries between the dark and light areas until they look like a hazy, natural shadow.
Tools and Techniques
You don’t need an arsenal of brushes. Small, precise brushes help you get close to the lash line without making a mistake. A fluffy blending brush is your best friend here. It’s the tool that turns harsh edges into soft gradients.
“The key is to blend the eyeshadows on the lid until you achieve a misty, seamless appearance.”
This technique works on almost any eye shape. Hooded eyes? It works. Almond eyes? Yes. Deep-set eyes? Absolutely. The difference lies in where you place the shadow. Adjust the placement based on your bone structure, but keep the blending consistent.
Essential Products
What’s in your kit for this look?
– Matte eyeshadows: Avoid shimmer. You want a foggy effect, not a disco ball.
– Eyeliner: Black or brown sticks best for the smudge factor.
– Primer: Non-negotiable for longevity.
– Mascara: To open up the eyes.
– Setting spray: To lock it in.
If you’re wondering which specific shades work best for different skin tones, the answer is usually earth tones. They mimic natural shadows. For a softer look, try warm browns. For something sharper, go gray.
Is it difficult to master? Not really. It just requires patience with the blending. If you rush, you’ll get patchy color. If you take your time, you get that effortless, “I just woke up like this but better” vibe.
Why This Works
The smoky eye isn’t just about applying dark color. It’s about light and shadow play. By keeping the finishes matte, you absorb light rather than reflecting it. This creates depth. When you blend the outer corners with the lighter center, you’re simulating the way light naturally hits the eye socket.
Some people prefer the liner hack for its speed. Others prefer the eyeshadow route for its versatility. The liner method is faster but can be less forgiving if you slip. The eyeshadow method takes longer but allows for more customization.
You can mix colors too. A touch of plum in the outer corner can add warmth without breaking the smoky aesthetic. The rules are loose. The only hard rule is: blend until it looks like fog, not paint.
And if you mess up? You always have a q-tip and some concealer


