Eyebrows are nature’s most underrated detail work. They dictate your expression more than any other facial feature. Good shape creates symmetry. Bad shape can make you look permanently confused, angry, or tired, depending on how much you messed up.
Getting the hang of it is tricky. Many people panic when they pick up a razor. The wrong angle creates asymmetry. The wrong length sends the wrong signal. If you want to know how to shape your eyebrows correctly, you need to stop guessing and start mapping.
Why proper eyebrow shaping matters for facial balance
Your eyebrows act as the frame for your eyes. When the frame is crooked, the picture looks off.
Proper shaping isn’t just about aesthetics. It affects how people read your face. A well-defined arch can lift the entire upper face. It adds structure. Without it, features can blend into a mess.
The goal is harmony. You are looking for a shape that fits your bone structure, not a trendy Instagram filter.
Step-by-step guide to mapping your perfect brow shape
Before you cut a single hair, you need a guide. Use a brow pencil or a clean eyeliner brush.
- Find the start. Hold the tool vertically against the side of your nose. The point where it meets your brow is where your inner edge should be.
- Locate the peak. Move the tool so it crosses your iris (the colored part of your eye). That intersection is your natural arch.
- Mark the tail. Extend the tool past the outer corner of your eye. That point marks where your brow should end.
Once you have these three points, you can see what needs to go.
How to trim and tweeze without over-removing
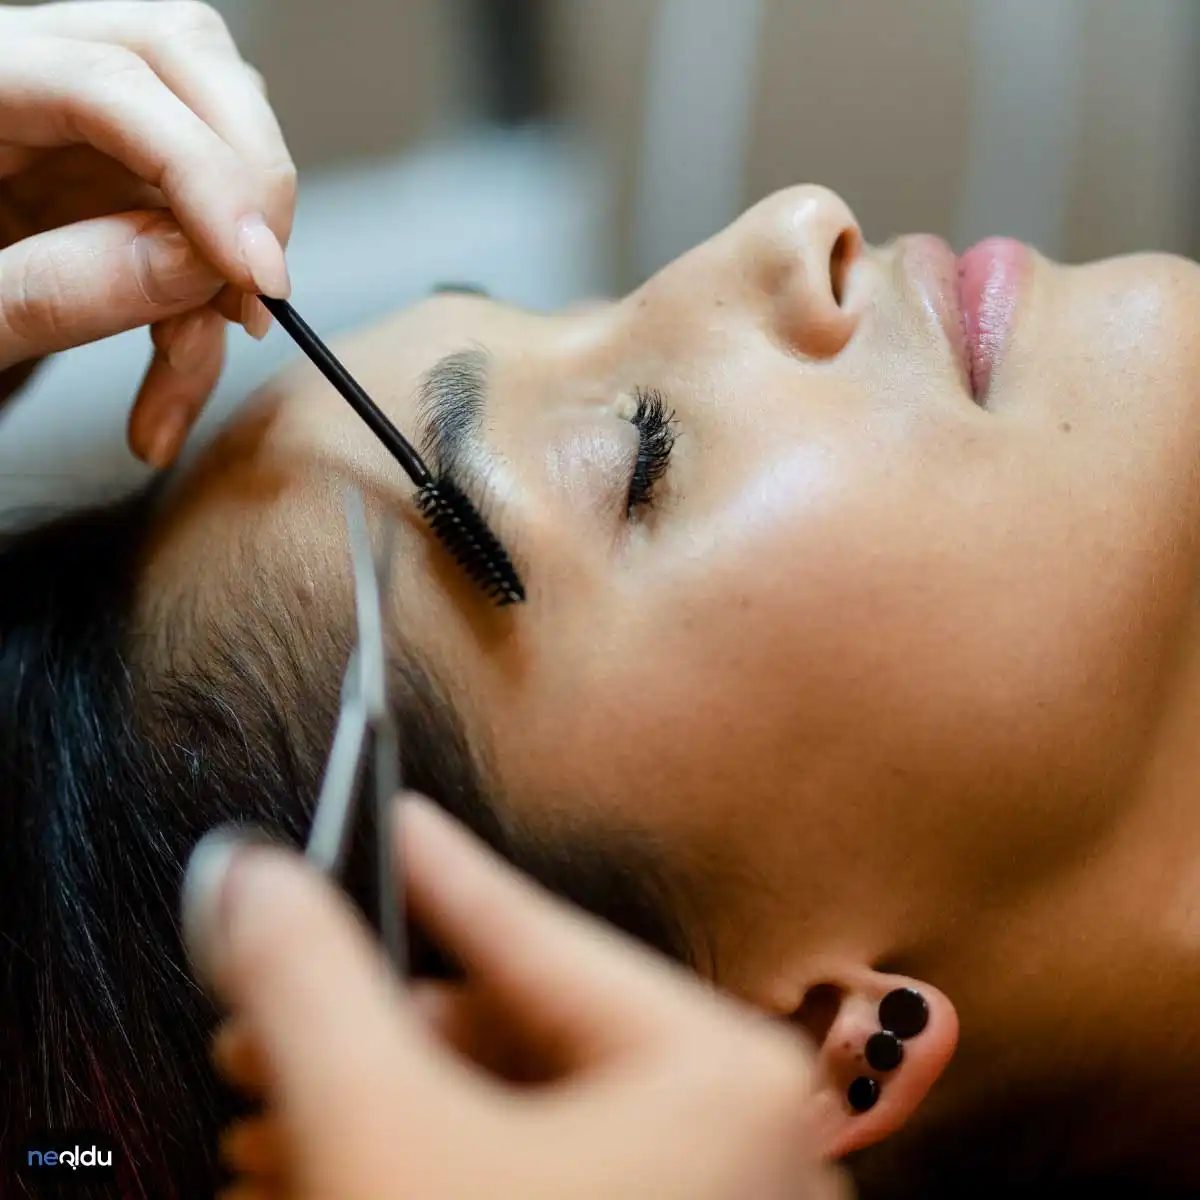
Start with trimming if your brows are thick or unruly. Use a spoolie brush to comb hairs upward. Cut anything that sticks out significantly.
Next, tweeze the bottom line. Remove stray hairs that break the clean line you mapped out. Do not pull hairs from above the arch line. This is where most mistakes happen.
Key Insight: If you are unsure whether a hair should go, leave it. You can always remove more later. You cannot regrow what you pluck.
Work slowly. Pinch the skin taut. Pull in the direction of hair growth. This minimizes pain and breakage.
Common mistakes that ruin your brows
Many people try to create a razor-thin line. This looks dated. It can also make the face look smaller.
Another error is over-plucking the tail. If you cut too short, the brow looks disconnected. Aim for a natural taper.
Avoid using sharp razors on the top line. This creates a hard, unnatural edge. Use a gentle trim instead.
Tools you actually need for at-home shaping
You do not need a salon kit.
- Small angled razor: For bottom line cleanup.
- Tweezers: Slanted tip works best for precision.
- Spoolie brush: For combing and setting shape.
- Brow pencil or tape: For mapping guide.
Clean your tools before use. Bacteria can clog pores. This leads to ingrown hairs.
How often should you maintain
How to Map Your Natural Brow Arch Without Ruining Your Face
You don’t need a ruler to know where your brows start, but if you do, here is why. The goal of shaping is not to create a new face, but to highlight the one you already have. Mess this up and you risk dragging your features down or making your forehead look shorter than it is. The difference between “groomed” and “carved” is subtle, but the visual impact is huge.
Which Tools Do You Actually Need for Precision?
Start with a spoolie brush. This isn’t just for styling; it’s your diagnostic tool. Brushing your hairs upward reveals the natural line they want to take. If you are unsure where your arch should peak, look at where the hair naturally thins out. That is your guide, not Instagram filters.
For removal, choose between a pair of tweezers and small scissors. Tweezers are for stray hairs below or between the brows. Scissors are for length control. Never pull a hair if it is merely long; cut it. Pulling changes the growth pattern over time. Cutting preserves the root structure.
Why Does Color Matching Matter More Than Shape?
Once the shape is set, the pencil or powder you choose dictates whether the look feels fresh or painted-on. Match your product to your natural hair color, not your eyelash color. If your brows are dark brown, a black pencil will look harsh. A shade lighter than your hair or a matching brown will fill in gaps without creating a “mask” effect.
Apply lightly. You are filling holes, not drawing a new brow. Use short, feather-like strokes. Press the product into the hair rather than dragging it across the skin. This keeps the texture realistic.
The Final Check: Why You Should See a Pro If You Are Unsure
Here is the hard truth: if you are hesitant about where to pull a hair, do not pull it. One wrong stroke on the inner corner can make your face look wider. One mistake on the tail can make you look older. A professional brow specialist spends a fraction of a minute mapping your facial proportions. They know how to adjust for wide foreheads, narrow faces, or different eye spacing.
It is cheaper to pay for a consultation than to spend six months growing out a bad shape. Your brows frame your eyes. Treat them like the jewelry they are, not like weeds in a garden.
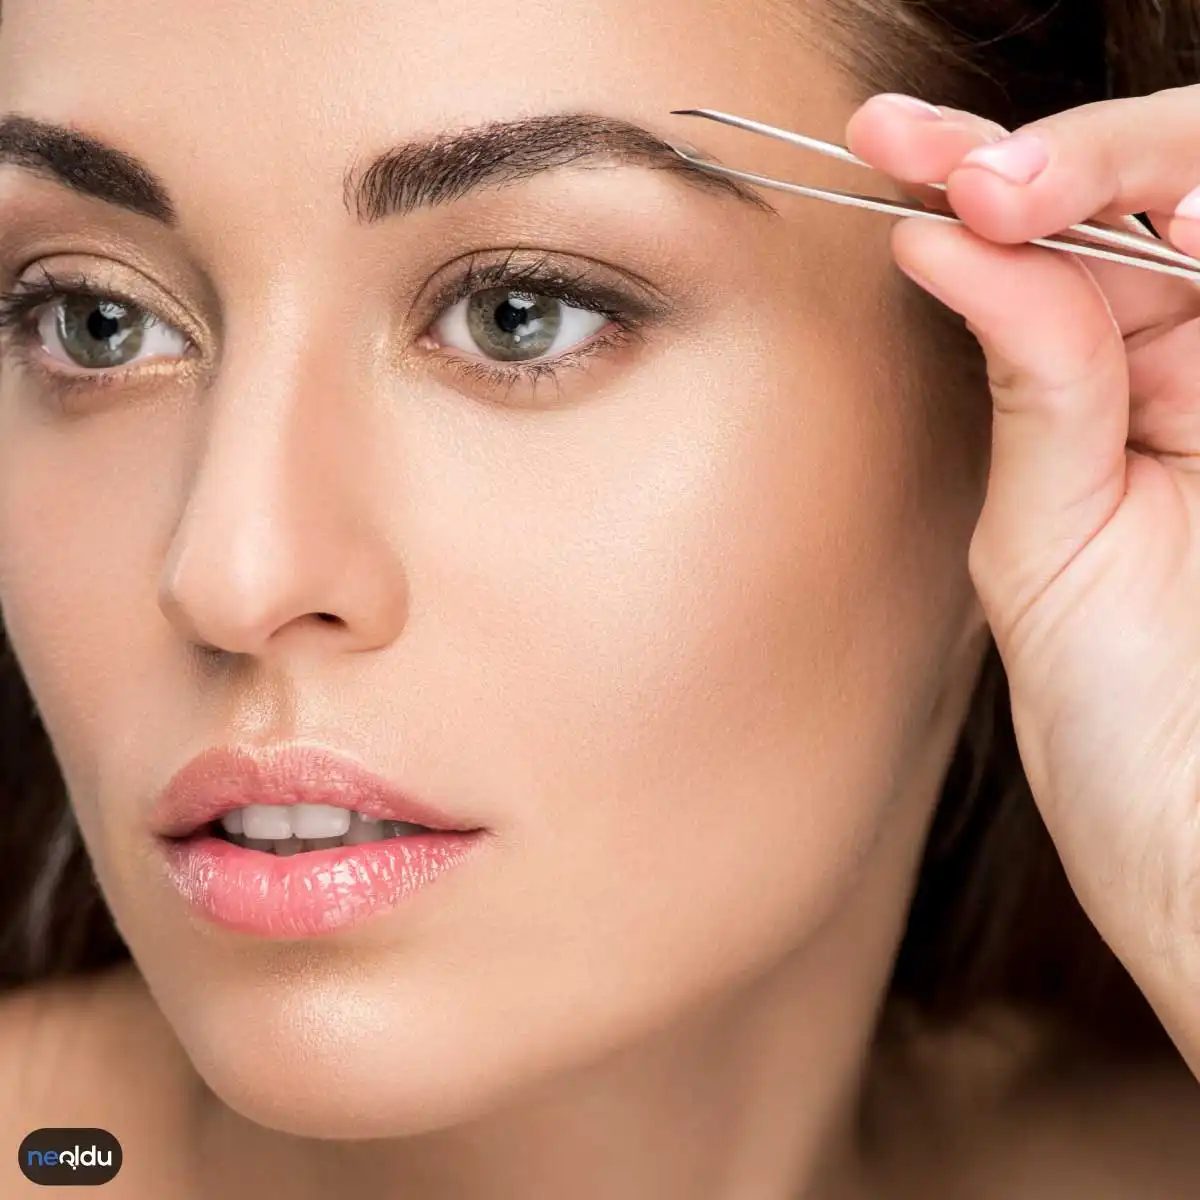
How often should you actually reshape your brows?
The gap between maintenance and overdoing it is where things get messy.
Most people need to touch up their brows every two to four weeks. That’s the sweet spot where the shape stays defined without the skin getting irritated from constant pulling or waxing. If you have fast-growing or thick hair, you might need that two-week check-in. If your hair grows slowly, you can stretch it to a month.
Doing it too often strips the natural density. You end up with patchy areas that take months to fill back in. That’s not a temporary inconvenience, it’s a structural problem for your facial balance.
Which method fits your skin and hair type?
Not every technique works for everyone. This is where the “one size fits all” beauty advice falls apart.
- Threading : Precision is high. Great for defining arches. Can be painful if the thread snaps or the practitioner pulls too hard.
- Waxing : Fast. Efficient for larger areas. Harsh on sensitive skin. Can cause redness that lasts days.
- Tweezing : The slow, deliberate option. Best for minor corrections. Boring if you have a full face of hair to manage.
- Shaving : Quick fix. Low risk of pulling hair out. High risk of cutting the skin if you’re not steady.
- Brow pencils : Not a removal method, but a shaping tool. Fills in gaps. Makes the illusion of a full arch without sacrificing actual hair.
Your skin sensitivity dictates the method more than your aesthetic preference. If you react to wax, don’t force it. Use tweezers or threading instead. Your skin barrier will thank you.
Why does symmetry matter more than thickness?
People obsess over thick brows because of social media trends. But symmetry is what makes a face look balanced.
If one brow is higher than the other, no amount of thickness will fix it. The goal is to map the shape to your bone structure, not to follow a viral template. Start by marking the beginning, arch, and end of each brow with a brow pencil. This visual guide prevents you from over-trimming.
A common mistake is trimming the tail of the brow too short. That tail anchors the arch. Cut it too short and the brow looks like it’s floating. It breaks the line. Keep the tail connected to the arch.
How to avoid damaging your face while shaping
Aggressive shaping leads to skin damage. This is not just about aesthetics; it’s about health.
If you see redness that doesn’t fade after a few hours, you’ve pulled too hard or used too much product. If you see small whiteheads or ingrown hairs, your pores are clogged or your hair is growing back incorrectly.
Stop the process immediately if you feel sharp pain. That’s not a sign of good results. It’s a sign of tissue damage.
The right amount of removal is the amount that makes you feel confident without looking like you’ve had surgery. Subtle changes are permanent in effect. Drastic changes are often regretted.
Where to go when you’re unsure
If you’ve never done this yourself, don’t guess. Visit a professional brow artist once. Let them map your face. Take photos before and after.
Then, practice at home with small
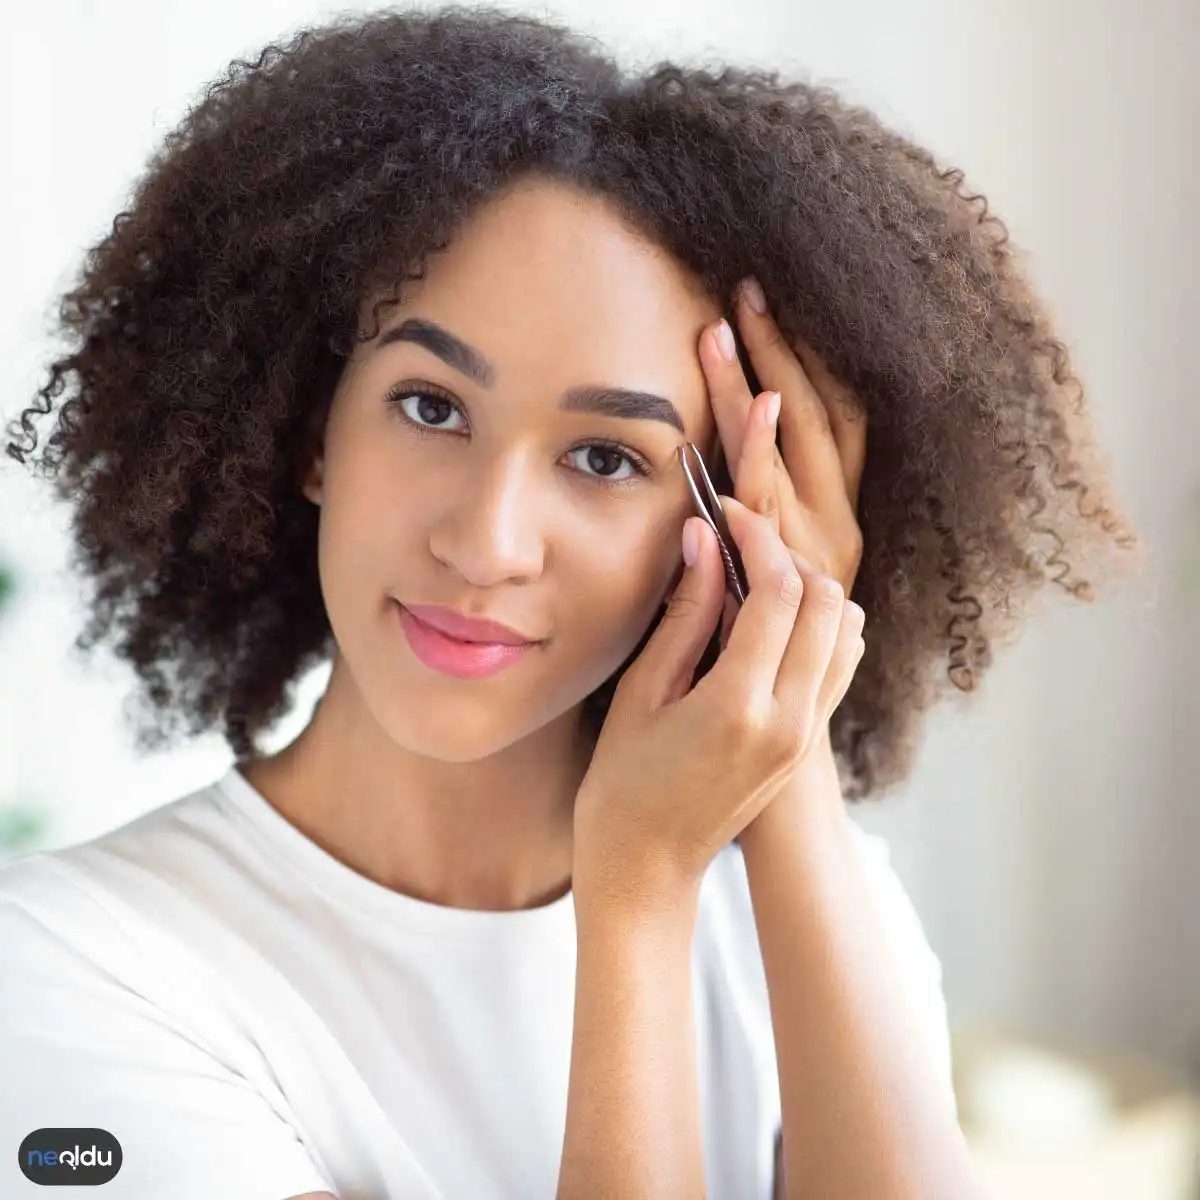
How long does a brow shaping session actually take?
Most of the time, you’re looking at a window of 15 to 30 minutes. Not much. Enough time to get your coffee cold, barely.
But that number bounces around. Why? The method you pick matters, and so does your hair. If you go with waxing or shaving, you’re out faster. Tweezing or threading? That takes a bit longer. Your brow architecture plays a role too. Dense brows need more attention than sparse ones.
How often should you really book that appointment?
There is no universal rule. Most people settle on a 2-4 week cycle. It keeps things tidy without turning into a weekly ritual.
However, growth rates vary wildly. Some people have hair that shoots back quickly. They might need to go in more often. Others are happy to wait a bit longer. It is personal preference. Listen to your face, not the calendar.
Why the right professional changes everything
Timing and frequency are useful, but they are secondary. The biggest risk? Bad shaping.
If someone pulls too much, or shapes the arch wrong, your facial symmetry suffers. It is not a fixable error; it is a new baseline. That is why picking a trusted expert is non-negotiable. You need someone who understands your face structure, not just someone who follows a generic map. Precision prevents the “I look different” feeling.
A poorly shaped brow is harder to fix than an unshaped one.
What to do immediately after your brow treatment
Post-care is where most people skip steps. Do not skip them.
The skin under your brows is sensitive. After waxing, threading, or plucking, it is vulnerable. Here is the practical list:
- Keep it clean. Gently wash the area. Remove any residual wax or product.
- Avoid makeup. Give the skin 24 hours to settle. No concealer, no brow pencils right on top of fresh plucks.
- Stay out of steam. Saunas, hot showers, and intense workouts can irritate the follicles. Wait a few hours.
- Moisturize lightly. A fragrance-free balm helps soothe any redness.
If you experience significant irritation, pain, or signs of infection, stop self-treating and see a professional. Your brows are part of your face. Treat them like the delicate feature they are.
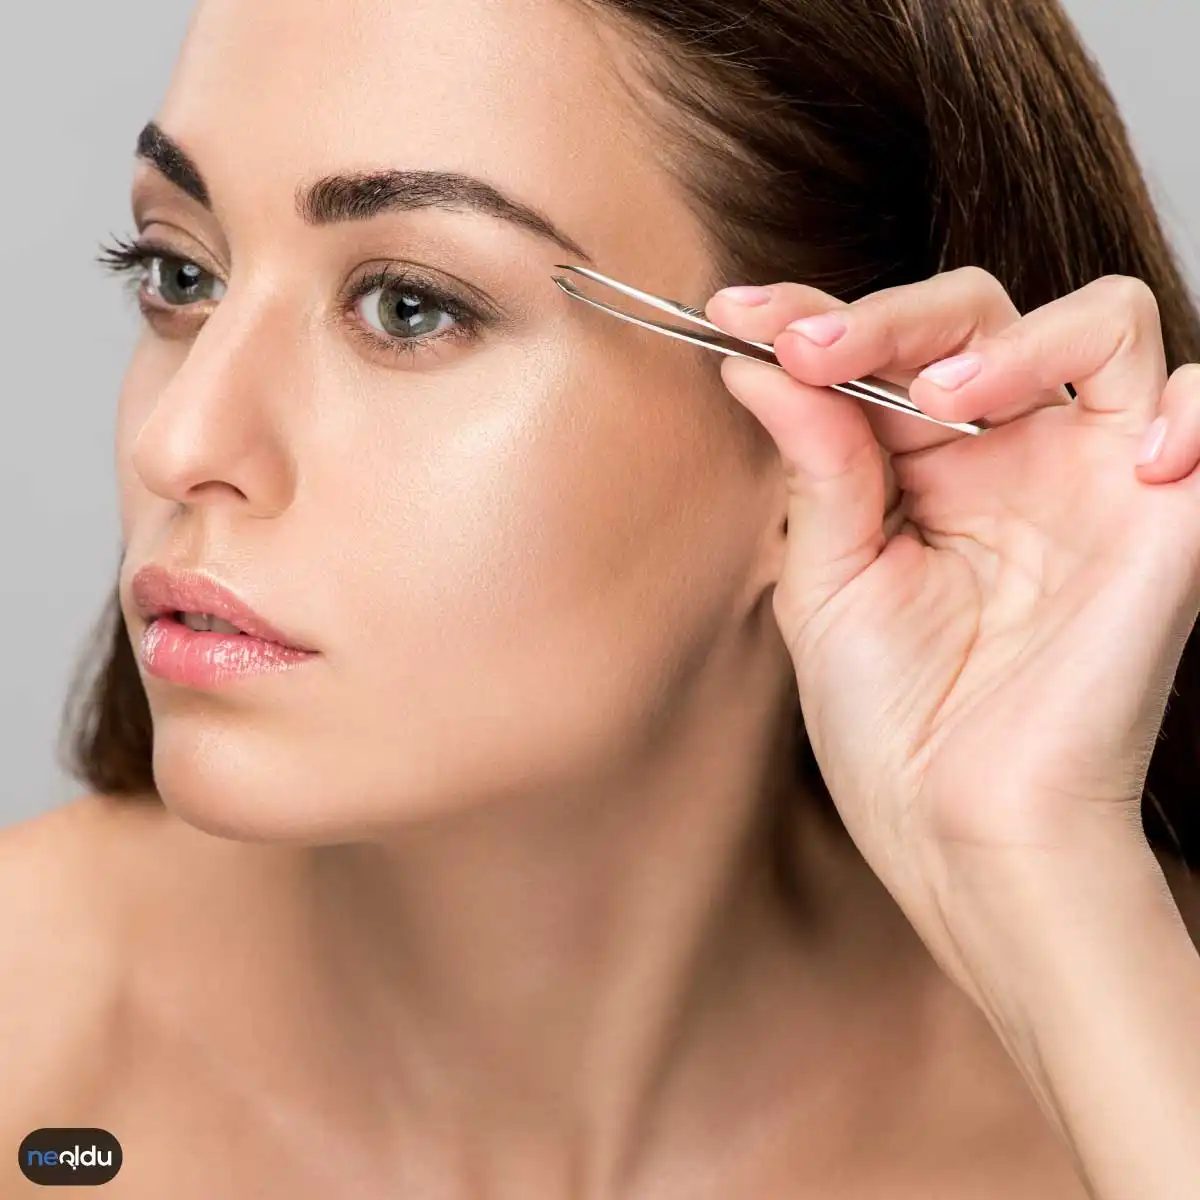
How to keep your brows last longer after shaping
Your skin is going to be sensitive right after you finish plucking or waxing. Leave it alone. Give it at least a few hours before you touch that area again. If you see some redness or irritation, do not panic. That is normal and usually fades within a few hours. But if the irritation sticks around or gets worse, stop guessing and see a doctor.
Regrowth is a slow process. It can take a few weeks for hairs to come back. When they do, resist the urge to yank them out. Pulling can cause ingrown hairs and uneven texture. Instead, trim the new hairs or use tweezers carefully. You also want to keep that skin hydrated. Use a light moisturizer on the brow area. Be gentle when you apply it so you do not disrupt the natural shape you just worked on.
How often should you actually go back for a shape? It depends on your hair growth rate, but most people find that every two to four weeks keeps things neat.
How to determine your ideal eyebrow shape
You cannot just pick a shape that looks good in a magazine. You have to look at your face. Are you oval, square, round, or heart-shaped? Each structure calls for a different brow arch. Look at the distance between your brows and how high they sit on your face. These factors decide the final look.
The goal is to frame your face, not overpower it.
If you have a round face, a higher arch can elongate the look. If your face is square, a softer curve softens the angles. It is about balance.
How to fill in sparse eyebrows for a fuller look
Gaps happen. It is not a disaster. You have two main tools: brow pencils and brow powder. For a natural look, use the pencil with light touches. Do not draw a heavy line. Think of it as adding texture, not filling a block. Brow powder is great for adding volume. It sits on top of the hair and makes the brow look thicker without looking painted on.
How to make your eyebrows look natural
The biggest mistake people make is using too much product. Less is more. If you want to maintain your natural color, skip the dark dye. Use a shade that matches your existing hair or just one shade darker. A shadow effect looks more realistic than a solid block of color. Keep it subtle. You want people to think you have great brows, not that you did a lot of work on them.
Does the perfect shape really exist? Maybe not. But the right balance for your face will always look better than a trend that does not fit you.